Chatbot Customization
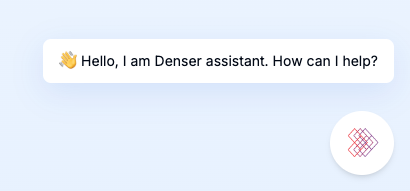
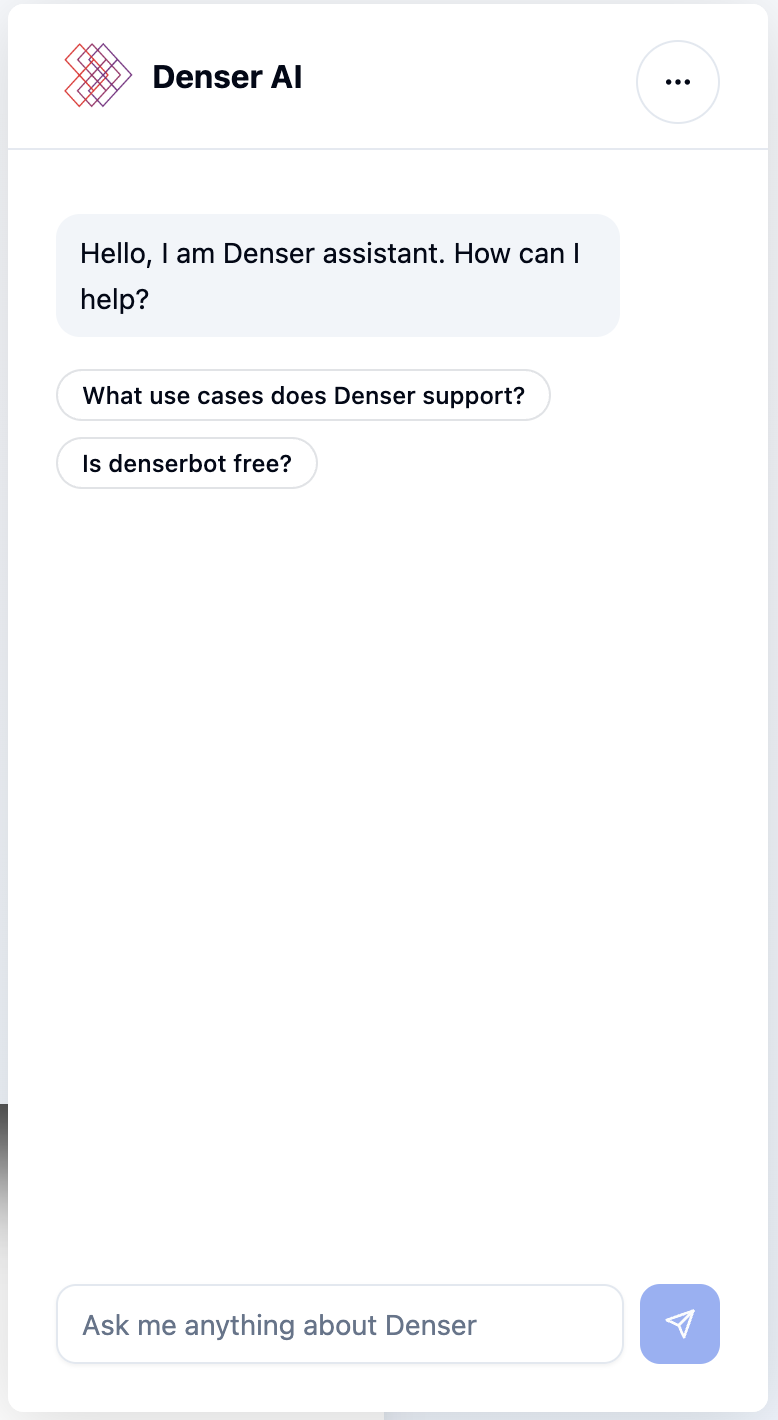
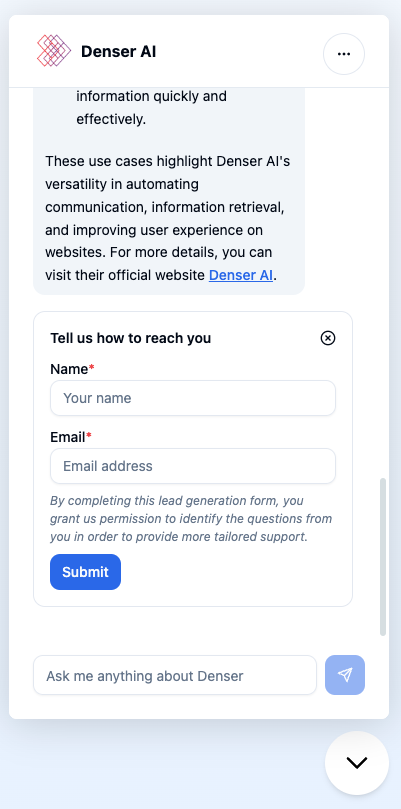
You might have noticed Denser AI chatbot widget at Denser Chat homepage. This widget displays a greeting message above the chatbot button; after opening chat window, there is a greeting message and 2 default questions you can test; after asking a first question, there is a lead generation form pops up to collect your contact information.


Actually this "Denser AI" chatbot was created in the same way as our customer Denser bots. This means you can also customize almost all the content and colors like the "Denser AI" chatbot:
Exploring Denser chatbot's powerful customization capability
- Name and logo
- LLM settings
- Initial messages and suggested questions
- Message bubbles
- Lead generation form
- Theme and color
Name and logo
Navigate to Settings > General panel on Denser dashboard. Enter your choice of chatbot name in the Title input field. Make sure click Save button.

Navigate to Settings > Customization panel on Denser dashboard. Customize panel includes a chatbot window on the right side. Your customization changes are instantly updated on this chatbot window. E.g. you can see the chatbot title entered at previous setp is used at header section on the chatbot window.
Click Choose Icon to select your logo image file for upload. Make sure you click Save button in the Common section. A 100x100 png image with Denser log is used in this example, but you can upload your logo image instead.

LLM settings
GPT Version: Navigate to Settings > Customization panel on Denser dashboard. At the Common section, you can use GPT Version dropdown to select the LLM backend to process user queries. Some options are only available to certain user subscription tiers.

Citation: Denser chatbot provides citations in the answers. Citation is a link to the original data source, which helps to verify the authority of the answers. Citation is enabled by default. You have option to turn off citations in the answers provided by Denser chatbot. You can use Citation dropdown to turn off citations in chatbot integration, while use Citation (Dashboard) dropdown to turn off citations when chatting in Denser dashboard's Chat screen.
Customer support
This feature helps you to provide customer support to your website visitors. This is usefule when your visitors have questions that cannot be answered by your chatbot, and expect human support.
Find Customer Support setting to enable customer support. Make sure you clicked Save button to applied the changes.

After enabling customer support, make sure you follow the Configure notification emails link to configure notification emails. You can provide the email addresses that you would like to receive queries from your website visitors. Denser will send your visitors' queries from donotreply@denser.ai to these email addresses.
Once customer support feature is enabled, the chatbot window shows a Email icon button as shown in the screenshot below. This is the entry point for your visitors to send queries to your configured notification email addresses.

Initial messages and suggested questions
Initial messages and suggested questions are displayed when chatbot window is opened by a visitor. Instead of showing a blank chat window, you can use initial messages to greet your visitor, while suggested questions are convenient for visitors to ask the prepared question without the need of typing.
The following screenshot contains some example messages and questions. You can verify how they are applied by checking the chat window on the right edge of the page.

Message bubbles
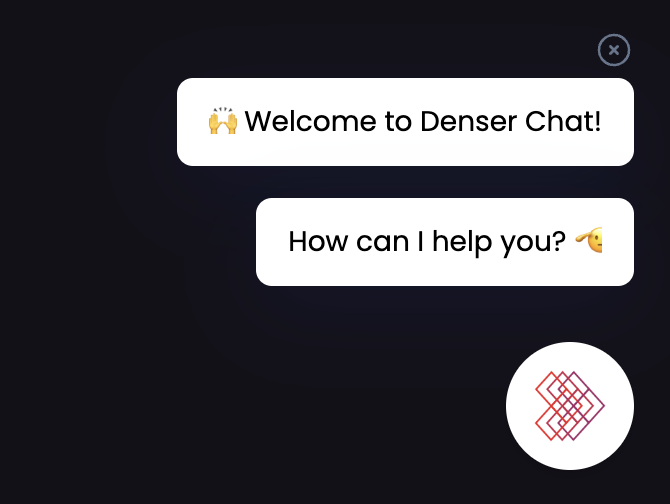
Message bubbles can be added as part of Denser chatbot widget, which is floating at the bottom right corner of your website after you configured website integration or WordPress integration.

Find Message bubbles input field below initial messages and suggested questions. Enter each message at a new line as shown in the following screenshot. Note you can use unicode emoji in the messages. There are many online unicode emoji resources. Simply copy & paste emoji into the Message bubbles input field.

Lead generation form
Lead generation form is turned on by default. You can turn it off if you do not need it by selecting option off on the Leads dropdown field under Common section.

To customize lead generation form or view lead generation data, you can visit Leads panel on the chatbot dashboard. At the default Lead Form tab, click Add Field button to add additional input fields to your chatbot's lead generation form. To check customers that filled lead generation form, please select the Records tab.
Note you can integration Denser lead generation with Zapier to achieve automated workflow. E.g. you can export lead generation data to an external source, or get notified when a lead generate record is added. Please refer to Zapier Integration guide for detailed instruction.
Theme and color
Since the Denser chatbot widget has been added to your website, it’s essential that the chatbot window aligns seamlessly with your existing webpage design and brand colors.
Find the Theme dropdown field under Common section. There are 3 optons that you can choose from. If you already using some form of "light / dark" themes, you can select "light" or "dark" option from the dropdown.
Otherwise, select "customize" option from the dropdown to start your full customization experience. After "customize" option is selected, the Theme section is displayed. The chatbot window on the right side panel is moved down to align with the Theme section, so you can easily track the color changes applied to the chatbot window.

Click color palette icon to change color for different type of UI components on chatbot window as shown in the following screenshot. Remember to save your customization effort by clicking the Save button inside the Theme section!
